

Introductin
Twinkling lights, the warm hum of holiday music, and the smell of cookies wafting through your kitchen—that’s the magic of baking during the festive season! And nothing says Christmas quite like Hershey’s Red Velvet Blossoms Cookies with their vibrant red hue and delightful chocolate topping.
If you’re a fan of classic Hershey’s Kisses (and honestly, who isn’t?), you’ll love these Hershey’s Red Velvet Blossoms Cookies. They’re soft, chewy, and topped with a perfect dollop of rich, melty chocolate. Plus, they’re ridiculously easy to make, so whether you’re a seasoned baker or just someone looking to whip up something special for a holiday party, this recipe is for you.
This recipe also pairs wonderfully with other holiday favorites like our Gingerbread Ice Cream Recipe – A Perfect Holiday Pairing or the ever-popular Christmas Cookie Bars – Festive and Delicious Ideas. Ready to get started? Let’s dive in!
Jump to Your Favorite Section
- Introductin
- Reasons to Love Hershey’s Red Velvet Blossoms Cookies
- Ingredients for Hershey’s Red Velvet Blossoms Cookies
- Preparation Details for Red Velvet Cookie Recipe
- Step-by-Step Instructions for Making Hershey’s Red Velvet Blossoms
- Serving Suggestions
- Tips for Perfect Results
- Recipe Variations
- Storage and Freezing
- FAQs
- Conclusion
Reasons to Love Hershey’s Red Velvet Blossoms Cookies
- Festive Appearance: The deep red color of these cookies paired with sparkling sugar is simply stunning on any dessert table.
- Soft and Chewy Texture: Each bite delivers that perfect balance of tenderness and richness.
- Rich Chocolate Flavor: The cocoa base combined with the Hershey’s Kiss topping makes for a chocolate lover’s dream.
- Quick and Easy to Make: Even if you’re short on time, these cookies come together effortlessly.
- Customizable: From swapping out Hershey’s Kiss flavors to changing the sugar coating, there are endless ways to make these cookies your own.
Ingredients for Hershey’s Red Velvet Blossoms Cookies
Here’s what you’ll need to make these delightful treats:
- 1/2 cup unsalted butter (softened): For richness and moisture.
- 1/2 cup granulated sugar: Adds sweetness and structure.
- 1/4 cup brown sugar: Provides a hint of molasses and keeps the cookies soft.
- 1 large egg yolk: Helps bind the dough while adding richness.
- 1 teaspoon vanilla extract: Enhances the overall flavor.
- 1 tablespoon red gel food coloring: Creates the signature vibrant red velvet hue.
- 1 1/4 cups all-purpose flour: The base of the dough.
- 2 tablespoons cocoa powder: For that classic red velvet cocoa flavor.
- 1/2 teaspoon baking powder: Ensures the cookies puff up slightly.
- 1/4 teaspoon salt: Balances the sweetness.
- 1/4 cup red sanding sugar: Adds sparkle and a slight crunch.
- 18 Hershey’s Kisses (unwrapped): The crowning jewel of each cookie.
Preparation Details for Red Velvet Cookie Recipe
- Prep Time: 15 minutes
- Cook Time: 10 minutes
- Yield: 18 cookies
Step-by-Step Instructions for Making Hershey’s Red Velvet Blossoms
1. Preheat the Oven
Preheat your oven to 350°F (175°C). Line a baking sheet with parchment paper or a silicone baking mat to prevent sticking.
2. Prepare the Cookie Dough
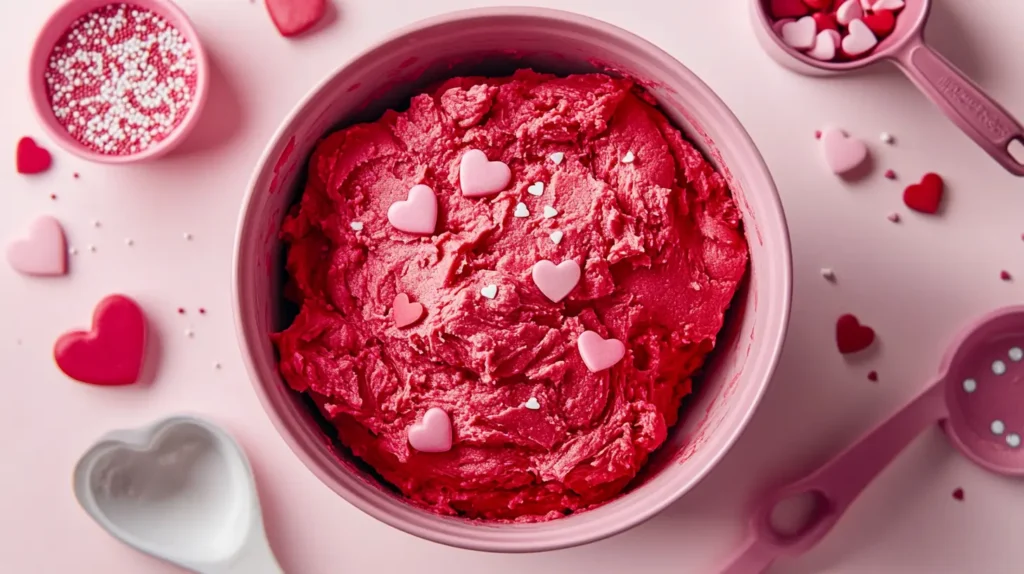
In a large bowl, cream together the butter, granulated sugar, and brown sugar until light and fluffy (about 2-3 minutes). Add the egg yolk, vanilla extract, and red food coloring. Mix until fully combined and vibrant.
3. Incorporate the Dry Ingredients
In a separate bowl, whisk together the flour, cocoa powder, baking powder, and salt. Gradually add the dry ingredients to the wet ingredients, mixing just until combined. The dough should be soft but not sticky. If it’s too sticky, chill it for 15 minutes.
4. Shape the Cookies
Roll the dough into 1-inch balls. Roll each ball in red sanding sugar until fully coated. Place the coated balls onto the prepared baking sheet, spacing them about 2 inches apart.

5. Bake the Cookies
Bake in the preheated oven for 8-10 minutes. The cookies should be set but still soft in the center.
6. Add Hershey’s Kisses
Immediately after removing the cookies from the oven, press a Hershey’s Kiss into the center of each cookie. Allow the cookies to cool on the baking sheet for 5 minutes before transferring them to a wire rack to cool completely.

Serving Suggestions
- Holiday Platters: Arrange these cookies alongside other festive treats for a beautiful holiday display. Add in small bowls of red and green candies for extra cheer.
- DIY Gifts: Pack them into decorative tins or cellophane bags with ribbon for a thoughtful homemade gift. Include a handwritten note or recipe card for a personal touch.
- Party Centerpieces: Stack them on a tiered tray for an eye-catching dessert table centerpiece. Surround with sprigs of holly or mini ornaments for added charm.
- Drink Pairings: Serve with hot cocoa, coffee, or even a chilled glass of milk. For adults, consider pairing with a creamy Irish coffee or mulled wine for an indulgent treat.
- Cookie Exchange Ideas: Bring them to a cookie exchange party and watch them disappear! Their vibrant color and unique design make them stand out.
- Snack Boards: Add these cookies to a holiday dessert board with other festive treats like fudge, mini brownies, or truffles for a showstopping spread.
Tips for Perfect Results
- Use Gel Food Coloring: It’s more vibrant and doesn’t affect the dough’s texture. Liquid food coloring can work in a pinch, but it may require more to achieve the same intensity, which could alter the dough’s consistency.
- Chill the Dough: If your dough feels too soft or sticky, a quick chill will make it easier to handle. For best results, refrigerate the dough for at least 20 minutes before shaping. This not only prevents stickiness but also helps the cookies retain their shape during baking.
- Unwrap Hershey’s Kisses in Advance: Save time and avoid fumbling when the cookies come out of the oven. Arrange the unwrapped Kisses in a bowl near your baking station for quick access, ensuring that each cookie gets its topping while still warm.
- Avoid Overbaking: Red velvet cookies are best when soft. Remove them as soon as the edges set but the centers still look slightly underdone. The residual heat from the baking sheet will finish cooking them perfectly as they cool.
- Proper Storage: Store in an airtight container to maintain freshness for days. For additional protection, place a sheet of parchment paper between layers of cookies to prevent them from sticking together and to preserve their sparkle from the sanding sugar. If the cookies dry out slightly, add a slice of fresh bread to the container to help retain their softness.
Recipe Variations
- Different Kisses: Try flavors like peppermint, caramel, or white chocolate for variety. For a seasonal twist, use limited-edition holiday flavors like sugar cookie or hot cocoa Hershey’s Kisses.
- Color Swaps: Use green sanding sugar for St. Patrick’s Day, pastel colors for Easter, or even silver and blue for a winter wonderland theme. Combine colors to match specific events or celebrations.
- Gluten-Free Option: Replace all-purpose flour with a gluten-free 1:1 baking flour. For extra moisture, add a teaspoon of xanthan gum if your gluten-free mix doesn’t include it.
- Extra Chocolate: Stir in mini chocolate chips or white chocolate chunks for a double chocolate twist. Drizzle melted chocolate over the cooled cookies for an extra decadent finish.
- Nut Lovers: Add finely chopped pecans, walnuts, or hazelnuts to the dough for a nutty crunch. For an even richer taste, toast the nuts lightly before incorporating them.
- Filling Fun: Before baking, press a small chunk of cream cheese, peanut butter, or hazelnut spread into the center of each dough ball for a surprise filling. Seal the dough well around the filling to prevent leaks during baking.
- Festive Shapes: Instead of rolling the dough into balls, shape it into hearts, stars, or other festive designs. Decorate with sanding sugar or edible glitter for an added festive touch.
Storage and Freezing
- Room Temperature: Store in an airtight container for up to 3 days. Place parchment paper between layers if stacking to prevent sticking and maintain the sparkle of the sanding sugar. For best results, keep them in a cool, dry place away from direct sunlight or heat sources.
- Refrigeration: Keeps fresh for up to 7 days. Use a sealed container to avoid the cookies absorbing other refrigerator odors. To enjoy them at their best, allow the cookies to come to room temperature before serving.
- Freezing: Freeze the dough balls for up to 3 months. Arrange the dough balls on a baking sheet and freeze them individually before transferring to a freezer bag or container. This prevents sticking and makes it easy to bake small batches. Bake straight from frozen, adding an extra minute or two to the baking time.
- Pre-Baked Storage: Fully baked cookies can also be frozen. Wrap each cookie in plastic wrap and place them in a freezer-safe container. Just thaw at room temperature or reheat in a low oven (about 300°F for 5-7 minutes) to restore their freshly baked taste and texture. For an added touch, sprinkle a little extra sanding sugar before reheating to bring back their festive sparkle.
FAQs
Yes, but gel food coloring is recommended for more vibrant results.
Absolutely! Store it in the refrigerator for up to 48 hours before baking.
Simply double all the ingredients and follow the same steps. Just ensure you bake in batches!
Of course! Experiment with dark chocolate, milk chocolate, or even filled chocolates for a unique twist.
Conclusion
These Hershey’s Red Velvet Blossoms Cookies are the ultimate holiday treat—festive, flavorful, and easy to make. They’re perfect for sharing with family, friends, or even keeping all to yourself (we won’t judge!).
What makes these cookies even more special is how versatile they are. Bake them as a family activity with the kids, or make them the centerpiece of your holiday dessert table. You can even include them in a cookie exchange and watch them disappear in seconds!
Pair these cookies with a few other holiday favorites for an impressive dessert spread. Try our Nestlé Chocolate Chip Cookie Recipe – Classic Baking Favorites or the creamy decadence of Gingerbread Ice Cream Recipe – A Perfect Holiday Pairing. The combination of flavors will delight any guest at your gathering.
These cookies also make fantastic gifts. Wrap them in decorative tins or holiday-themed boxes, and you’ve got a heartfelt, homemade present that’s sure to be appreciated.
Happy baking, and don’t forget to share your creations with us by tagging #HeartyDelish on social media! Whether it’s for a cozy family night or a festive party, these cookies are bound to be a hit.