

Easter Poke Cake is the kind of dessert that looks impressive but is secretly easy to whip up. Bright pastel swirls, creamy vanilla pudding, and fluffy Cool Whip come together for a cake that’s as fun to make as it is to eat. Whether you’re hosting Easter brunch or need something sweet for a potluck, this treat fits the bill.
Poke cakes have been around since the 1970s. The idea? Bake a cake, poke holes in it (yes, with the end of a spoon!), and pour something delicious—like pudding—over the top so it soaks into every bite. Moist, flavorful, and totally irresistible.
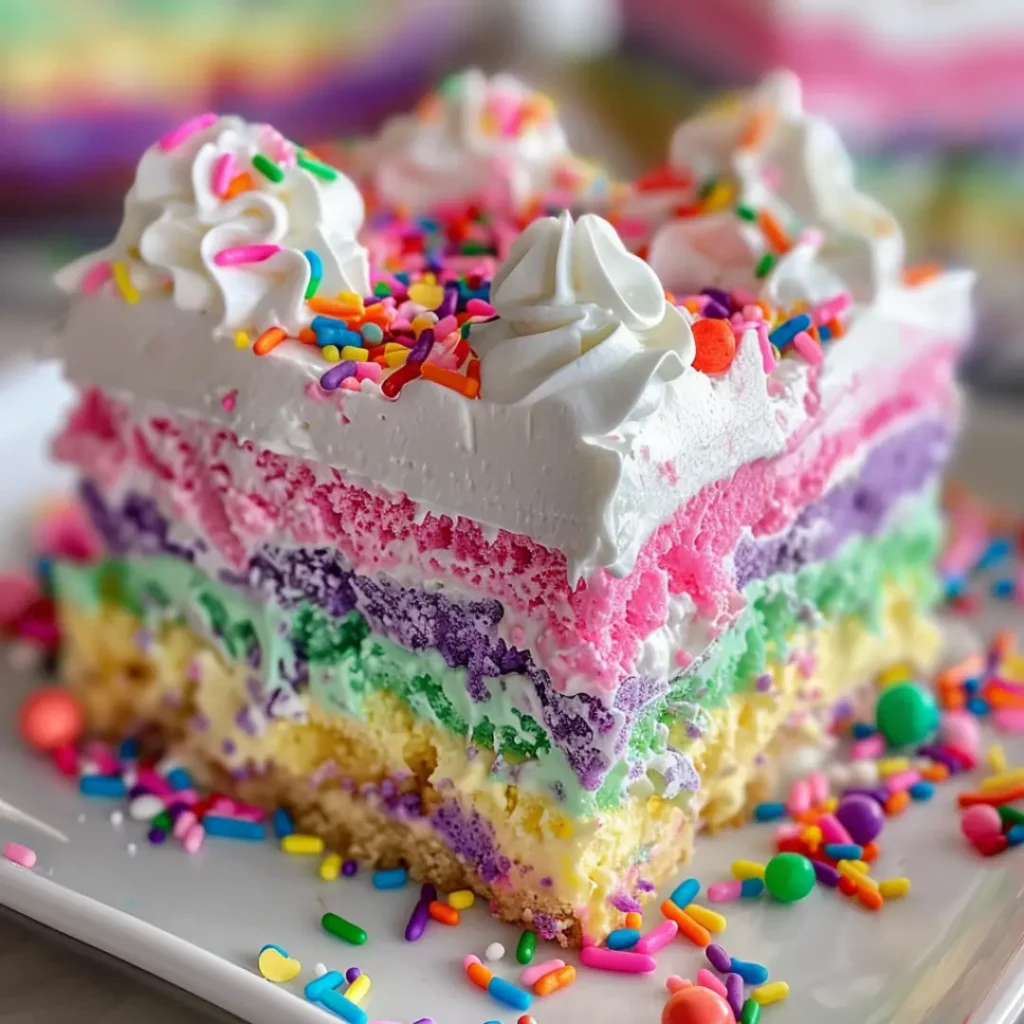
This Easter Poke Cake takes that retro trick and gives it a spring makeover: boxed white cake mix meets pastel colors, chilled pudding, and sprinkles. It’s kid-friendly, crowd-pleasing, and totally foolproof—even if you’re not a regular baker.
Let’s dive in and make a dessert that screams spring with every colorful bite.
What to Serve with Your Easter Poke Cake
So you’ve got your Easter Poke Cake chilling in the fridge, looking like a pastel dream. Now what? Let’s talk about what goes well with it—because a great dessert deserves great company.
This cake is already rich, creamy, and sweet, thanks to the pudding-filled layers and fluffy Cool Whip topping. But if you want to really round out your Easter dessert spread, here are a few easy, delicious ideas:
Perfect Pairings:
- Fresh berries – Strawberries, blueberries, raspberries… you name it. Their natural tartness balances the sweetness of the cake.
- Lemon curd – Want a citrusy zing? A little spoonful of tangy lemon curd on the side adds a nice contrast.
- Vanilla ice cream – Classic move. Cold, creamy, and melts just right over a chilled slice.
- Citrus fruit salad – Think mandarin oranges, grapefruit, and pineapple. It’s refreshing and keeps things feeling light.
Pro tip: If you’re serving this at a potluck or Easter brunch, bring a big bowl of fruit or a few extra toppings so guests can customize their slice of Easter Poke Cake.
Easter Poke Cake Recipe & Ingredients
Alright, time to get into the good stuff—making your very own Easter Poke Cake. This recipe is super beginner-friendly, perfect for kids to help with, and uses mostly pantry staples. We’re talking about a moist boxed cake, swirled with color, filled with pudding, and topped with the fluffiest whipped topping.
Servings this Easter Poke Cake:
12–15 generous slices (depends how big you go—we don’t judge)
Ingredients:
cake:
- 1 box white cake mix (plus ingredients on the box: usually water, eggs and oil)
- Gel food coloring in pastel shades (like pink, yellow, blue, or purple)
- 2 (3.4 oz) boxes instant vanilla pudding mix
- 4 cups cold milk for pudding
topping:
- 1 (8 oz) container Cool Whip, thawed
Or try whipped topping alternatives like homemade whipped cream if you’re feeling fancy
decoration this Easter Poke Cake (optional but fun):
- Easter-themed sprinkles
- Pastel food dye for tinting the Cool Whip (totally optional)
- Fruit toppings for cake – try sliced strawberries, blueberries, or mandarin orange topping
Flavor Tip:
Want to switch things up? Go for lemon pudding for a tangy twist, or try a pistachio pudding if you’re feeling adventurous. Both are perfect flavor combos for spring.
This Easter Poke Cake recipe is all about flexibility. You can keep it simple or dress it up with fruit and decorations. Either way, the result is always a colorful, moist cake that everyone will want seconds of.
Next up: we’ll walk through the step-by-step directions—so don’t worry if you’ve never swirled batter or poked holes in a cake before. You’ve got this!
Step-by-Step Directions for Your Easter Poke Cake
This is where the magic happens, folks. Making an Easter Poke Cake is kind of like an edible arts-and-crafts project—colorful, hands-on, and way less stressful than dyeing eggs with toddlers. Follow these simple steps and you’ll have a showstopper dessert with barely any stress.
1. Preheat and Prep
Start by preheating your oven to the temperature listed on the box (usually 350°F for a 9×13-inch pan). Grease your baking dish or line it with parchment if you like easy cleanup—always a win.
2. Make the Cake Batter
Prepare your white cake mix according to the box instructions—usually with eggs, oil, and water. Once the batter is smooth, divide it evenly into 3–4 bowls. Add a few drops of gel food coloring to each bowl to create your pastel colors. (Think springtime: soft pink, mint green, baby blue, lavender.)
Don’t overmix! You want those colors to stay light and lovely.
3. Swirl the Colors
Spoon the colored batters into the pan, one blob at a time. Alternate colors as you go. Once it’s all in there, grab a butter knife and gently swirl through the batter—just once or twice. You’re going for a soft marbled effect, not full-on rainbow chaos.
4. Bake It Up
Bake according to the box directions (usually 28–32 minutes). Do the toothpick test to make sure it’s done—clean pick = ready to go!
Let the cake cool for about 15–20 minutes.
5. Poke the Cake
Once slightly cooled, take the handle of a wooden spoon (or anything similar) and poke holes in the cake every inch or so. Go deep, but not all the way to the bottom. This is where your pudding magic is gonna soak in.
6. Make the Pudding
Whisk together 2 boxes of instant vanilla pudding with 4 cups of cold milk. Work fast—pudding sets quickly! As soon as it’s thickened but still pourable, pour the pudding evenly over the cake, making sure it seeps into all the holes.
7. Chill It
Pop the cake into the fridge and let it refrigerate for at least 2 hours—overnight is even better. This step is key for that moist, pudding-filled texture.
8. Frost and Decorate
Once chilled, spread Cool Whip all over the top. Want to get creative? Tint the whipped topping with pastel food dye, or pipe it into swirls. Sprinkle with Easter sprinkles, fresh berries, or even a few candy eggs for extra fun.
9. Slice and Serve
Keep your Easter Poke Cake chilled until ready to serve. Slice it up, plate it with fruit or ice cream, and let the compliments roll in.
This might be the easiest way to impress people with minimal effort. And don’t worry—if your swirls aren’t perfect, it still tastes like spring in a pan. Up next: Let’s talk tips, variations, and how to put your own twist on this festive favorite.
Easy Easter Poke Cake Variations & Time-Saving Tips
Want to make your Easter Poke Cake extra special—or just save some time? Here’s how to switch things up without the stress:
Flavor Swaps
- Try lemon or pistachio pudding instead of vanilla for a fun twist.
- White chocolate pudding = next-level creamy.
Add a Fruity Layer
Before topping with Cool Whip, add:
- Crushed pineapple
- Mandarin oranges
- Or sliced berries (just dry them first so things don’t get soggy!)
Topping Options
Cool Whip is easy, but feel free to:
- Whip up your own cream
- Use a coconut-based topping for dairy-free folks
- Stir in a little lemon curd for tangy flair
Make Easter Poke Cake Ahead
This cake loves the fridge. Bake and fill the day before, and frost the day of. The flavors soak in and it tastes even better chilled!
Let the Kids Decorate
Sprinkles, jelly beans, candy eggs—just let them go wild. It’s Easter fun in cake form.
For more creative baking inspiration and marketing ideas, explore the Pinterest or connect with us on Facebook.