
Introduction
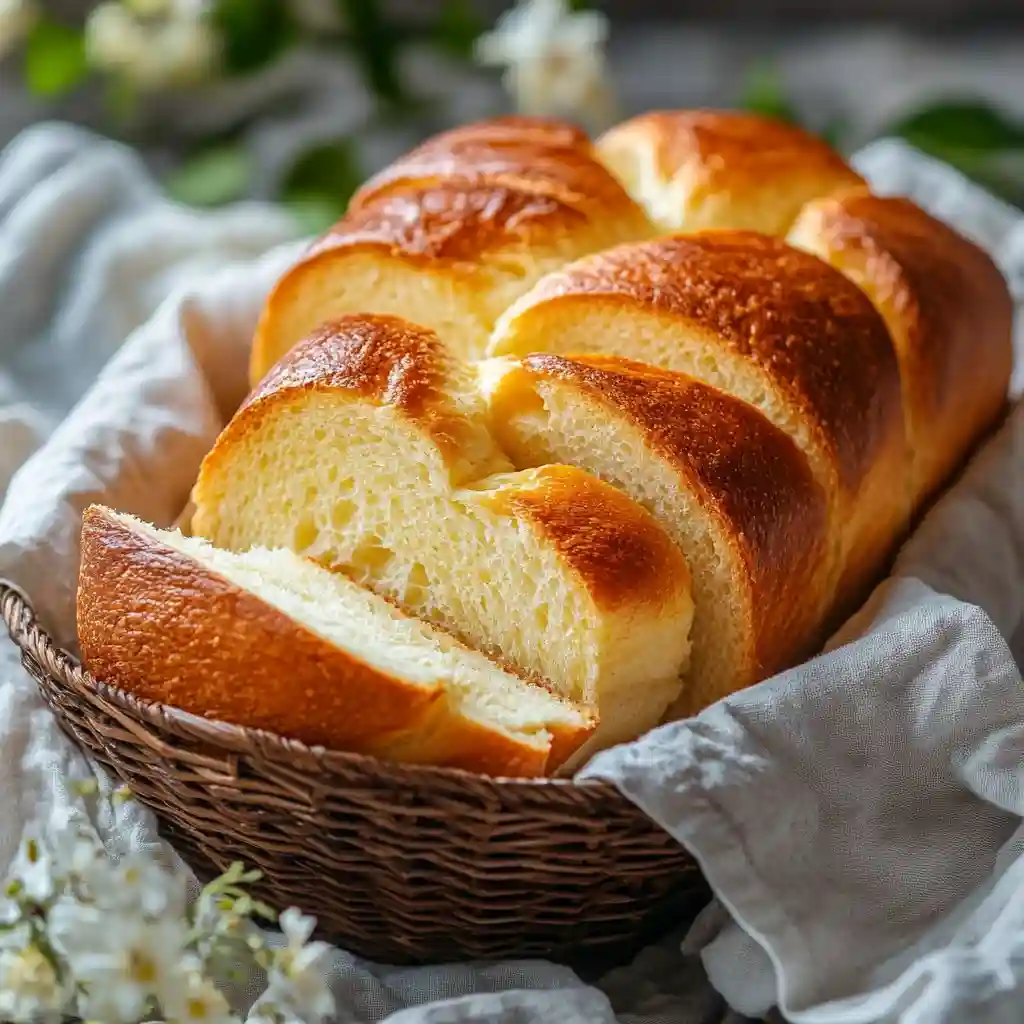
There’s something magical about pulling a loaf of freshly baked homemade Italian bread out of your oven. The soft, fluffy texture, the golden crust, and the warm, comforting aroma can instantly make your kitchen feel like an Italian bakery. This recipe isn’t just delicious—it’s simple enough for anyone to follow. Whether you’re a seasoned baker or a complete newbie, this step-by-step guide will have you baking like a pro in no time.
Italian bread is incredibly versatile. It pairs beautifully with soups like Sinigang, complements roasted dishes like beef tenderloin, and makes an excellent base for sandwiches or breakfast spreads. Ready to dive into the details? Let’s get started.
Jump to
- Introduction
- Key Recipe Details
- What Makes Italian Bread Unique?
- Essential Ingredients for Homemade Italian Bread
- Tools You’ll Need for Homemade Italian Bread
- Expert Tips for Success
- Step-by-Step Instructions for Homemade Italian Bread
- Bread Machine Instructions
- Serving Suggestions
- Storing and Freezing Tips
- Reader Testimonials and Variations
- FAQs About Homemade Italian Bread
- Final Thoughts
Key Recipe Details
- Cook Time: 30 minutes
- Total Time: 2 hours 15 minutes
- Serving Suggestions: Perfect for soups, roasts, or breakfast spreads.
What Makes Italian Bread Unique?
Italian bread has its own personality compared to other types of bread, especially French bread. Here’s a quick comparison to help you understand the differences:
- Italian Bread: Made with oils or fats, which give it a soft interior and a slightly chewy crust. Loaves are typically shorter, wider, and rustic-looking.
- French Bread: Contains only flour, water, yeast, and salt. It’s long and thin with a crusty, crunchy exterior.
The addition of olive oil in Italian bread gives it a rich flavor and a soft, tender crumb. It’s perfect for dipping in olive oil, spreading with butter, or using as sandwich bread.
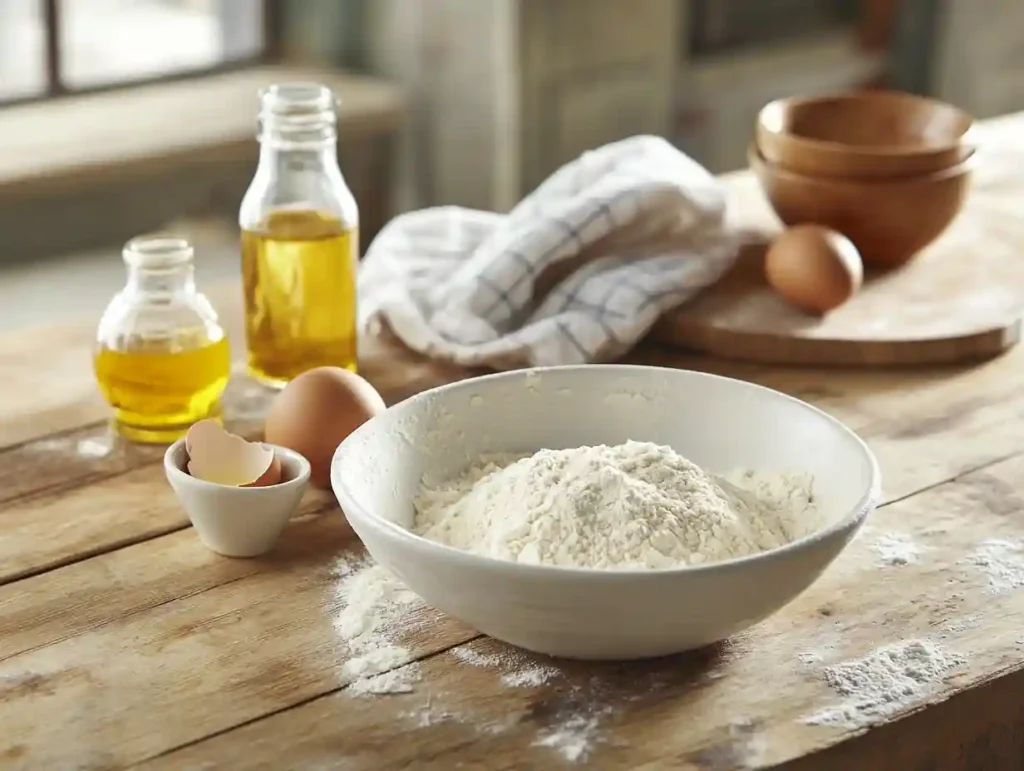
Essential Ingredients for Homemade Italian Bread
Here’s a breakdown of the ingredients you’ll need and why they matter:
- Active Dry Yeast: The magic behind the rise. Be sure to proof it in warm water (around 110°F) to activate it properly.
- Warm Water: The ideal temperature for yeast activation is between 110°F and 115°F. Using water that’s too hot can kill the yeast.
- Granulated Sugar: Helps the yeast ferment and adds a subtle sweetness to the bread.
- All-Purpose Flour: A versatile option that creates a tender, fluffy bread. Bread flour can also be used for a slightly chewier texture.
- Salt: Enhances flavor and controls yeast activity.
- Olive Oil: Keeps the bread moist and adds a hint of richness.
- Egg White: Brushed on the surface before baking, it creates a beautiful golden-brown crust.
Tools You’ll Need for Homemade Italian Bread
Before you start, gather these tools to make the process smooth:
- Mixing bowls (large and medium).
- Stand or hand mixer (optional but helpful).
- Baking sheet lined with parchment paper.
- Rolling pin (for shaping the dough).
- Pastry brush (for egg wash).
- Bread knife (for slashing the dough).
- Cooling rack (for letting the bread cool evenly).
Expert Tips for Success
To ensure your bread turns out soft, fluffy, and delicious every time, keep these tips in mind:
- Proofing the Yeast:
- Combine yeast, warm water, and sugar in a bowl. Let it sit for 5–10 minutes. If the mixture becomes frothy, the yeast is alive and ready to use.
- Kneading Techniques:
- If kneading by hand, use the heel of your hand to press the dough forward and fold it back. Repeat until the dough becomes smooth and elastic.
- Rising Tips:
- Place the dough in a warm, draft-free spot to rise. Cover it with a clean kitchen towel or plastic wrap to keep it from drying out.
- Shaping the Dough:
- Roll the dough into a log or oval shape. Use a bread knife to make shallow slashes on top for an artisanal look.
- Freezing Dough:
- If you’re not baking immediately, freeze the dough after the first rise. When ready to bake, let it thaw and rise again before shaping and baking.
Step-by-Step Instructions for Homemade Italian Bread
1: Proof the Yeast
- In a small bowl, combine 2 ¼ teaspoons of active dry yeast, 1 cup of warm water (110°F), and 1 tablespoon of granulated sugar.
- Let the mixture sit for 5–10 minutes until frothy. If it doesn’t foam up, start over with new yeast and make sure your water temperature is correct.
2: Mix the Dough
- In a large mixing bowl, combine the yeast mixture, 2 tablespoons of olive oil, 1 teaspoon of salt, and 3 cups of all-purpose flour.
- Mix until a sticky dough forms. If you’re using a stand mixer, use the dough hook attachment for 5–7 minutes on medium speed.
3: Knead the Dough
- Transfer the dough to a floured surface and knead for 8–10 minutes by hand until smooth and elastic.
4: First Rise
- Place the dough in a lightly oiled bowl, turning it to coat the surface.
- Cover the bowl with a kitchen towel or plastic wrap and let it rise for about 1 hour, or until doubled in size.
5: Shape the Dough
- Once the dough has doubled in size, punch it down gently to release any air bubbles.
- Transfer it to a floured surface and shape it into a loaf.
- For a traditional look, roll the dough into an oval or log shape.
- Use a bread knife to make 2–3 shallow slashes across the top. This step helps the bread expand evenly while baking.
6: Second Rise
- Place the shaped dough onto a parchment-lined baking sheet. Cover it loosely with a kitchen towel.
- Let it rise again for about 30 minutes. The dough should puff up slightly but not double in size.
7: Apply the Egg Wash
- In a small bowl, whisk 1 egg white with 1 tablespoon of water.
- Using a pastry brush, gently coat the surface of the dough. This will create the signature golden, glossy crust.
8: Bake the Bread
- Preheat your oven to 400°F (200°C).
- Bake the bread for 25–30 minutes, or until the crust turns a deep golden brown. To check doneness, tap the bottom of the loaf—it should sound hollow.
- Once baked, transfer the bread to a cooling rack and let it cool for at least 15 minutes before slicing.
Bread Machine Instructions
If you’re short on time or prefer a hands-off approach, this recipe can easily be adapted for a bread machine.
- Adjust Ingredients: Add the ingredients in this order: water, olive oil, sugar, salt, flour, and yeast.
- Select the Dough Cycle: Let the bread machine handle the mixing, kneading, and first rise.
- Shape and Bake: Once the dough cycle is complete, remove the dough, shape it into a loaf, and follow steps 6–8 above for the second rise and baking.
Bread machines are perfect for beginners or anyone looking to streamline the process.
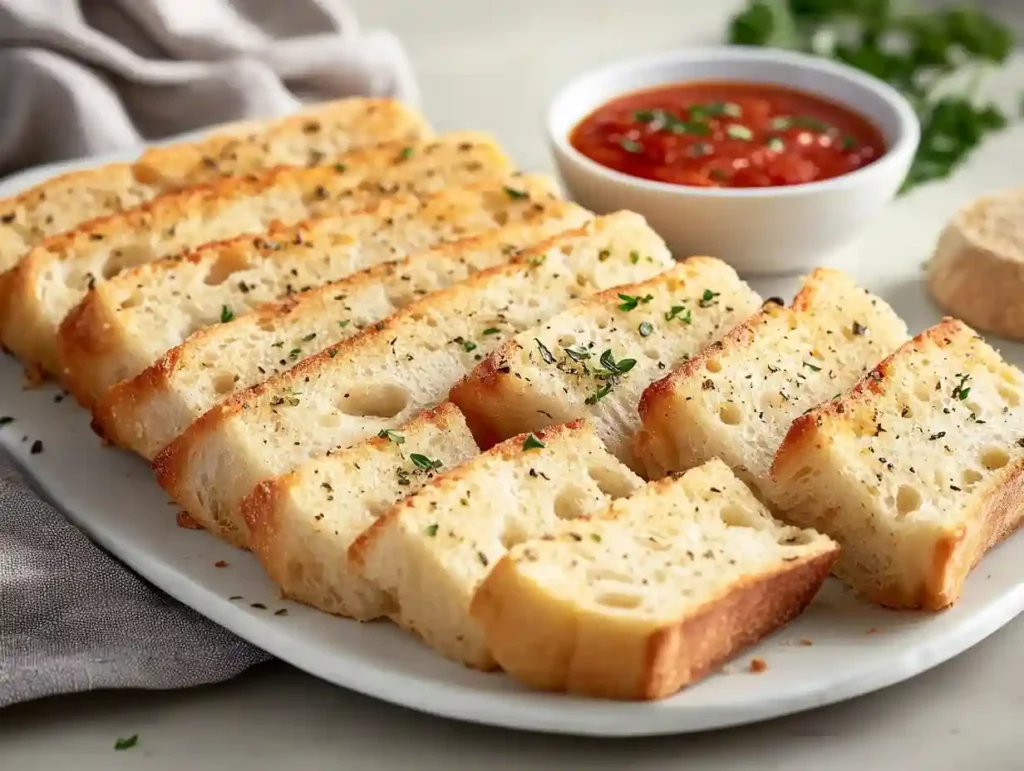
Serving Suggestions
Homemade Italian bread is a versatile addition to any meal. Here are a few ideas for enjoying it:
- Soups and Stews: Pair your bread with hearty dishes like Sinigang or other comforting soups.
- Roasted Dinners: Use it as the perfect side for beef tenderloin medallions.
- Breakfast Spreads: Swap crescent rolls for Italian bread in your morning lineup. Try it with butter, jam, or a drizzle of honey.
- Dipping Bread: Serve with olive oil and balsamic vinegar or use it to scoop up your favorite pasta sauces.
This bread also makes a fantastic base for sandwiches or an accompaniment to a classic antipasto platter.
Storing and Freezing Tips
- Storing:
- Once cooled, store the bread in a paper bag or bread box to maintain its crust. Avoid plastic bags, as they trap moisture and make the bread soggy.
- Consume within 2–3 days for the best texture and flavor.
- Freezing:
- For longer storage, wrap the cooled bread tightly in plastic wrap and aluminum foil. Freeze for up to 3 months.
- To thaw, leave the bread at room temperature for a few hours or warm it in a 300°F oven for 10–15 minutes.
Reader Testimonials and Variations
Here’s what some readers have said about this recipe:
- “I’ve never baked bread before, but this recipe was so easy to follow. The crust came out perfectly golden, and the inside was so soft!” – Melissa J.
- “I swapped olive oil for melted butter, and it added a richer flavor. Highly recommend!” – Carlos R.
- “Made this for my family, and they devoured the entire loaf in one sitting. Guess I’ll have to make two next time!” – Amanda T.
Feel free to experiment with toppings like sesame seeds, garlic butter, or even grated cheese for extra flair.
FAQs About Homemade Italian Bread
Yes! Bread flour has a higher protein content, which can result in a chewier texture. Both options work well, but bread flour gives a more traditional texture.
Mix yeast with warm water (110°F) and sugar. Let it sit for 5–10 minutes until it becomes frothy. If it doesn’t, your yeast might be expired or your water too hot.
Absolutely! Replace the egg wash with a mixture of water and olive oil for a similar golden crust.
Ensure proper kneading to develop gluten, and give the dough enough time to rise. Using fresh yeast also makes a big difference.
Final Thoughts
Making homemade Italian bread is easier than you think. This recipe offers a soft, fluffy interior and a golden crust that’s perfect for every occasion. Whether served with soups, roasts, or breakfast spreads, this bread is a foolproof way to elevate any meal.
Now it’s your turn to try this recipe! Share your results and any fun variations you’ve come up with. Breadmaking isn’t just about the food—it’s about the joy of creating something special to share with loved ones.
For more ideas, check out our guide to making bread a centerpiece for family meals. Happy baking!